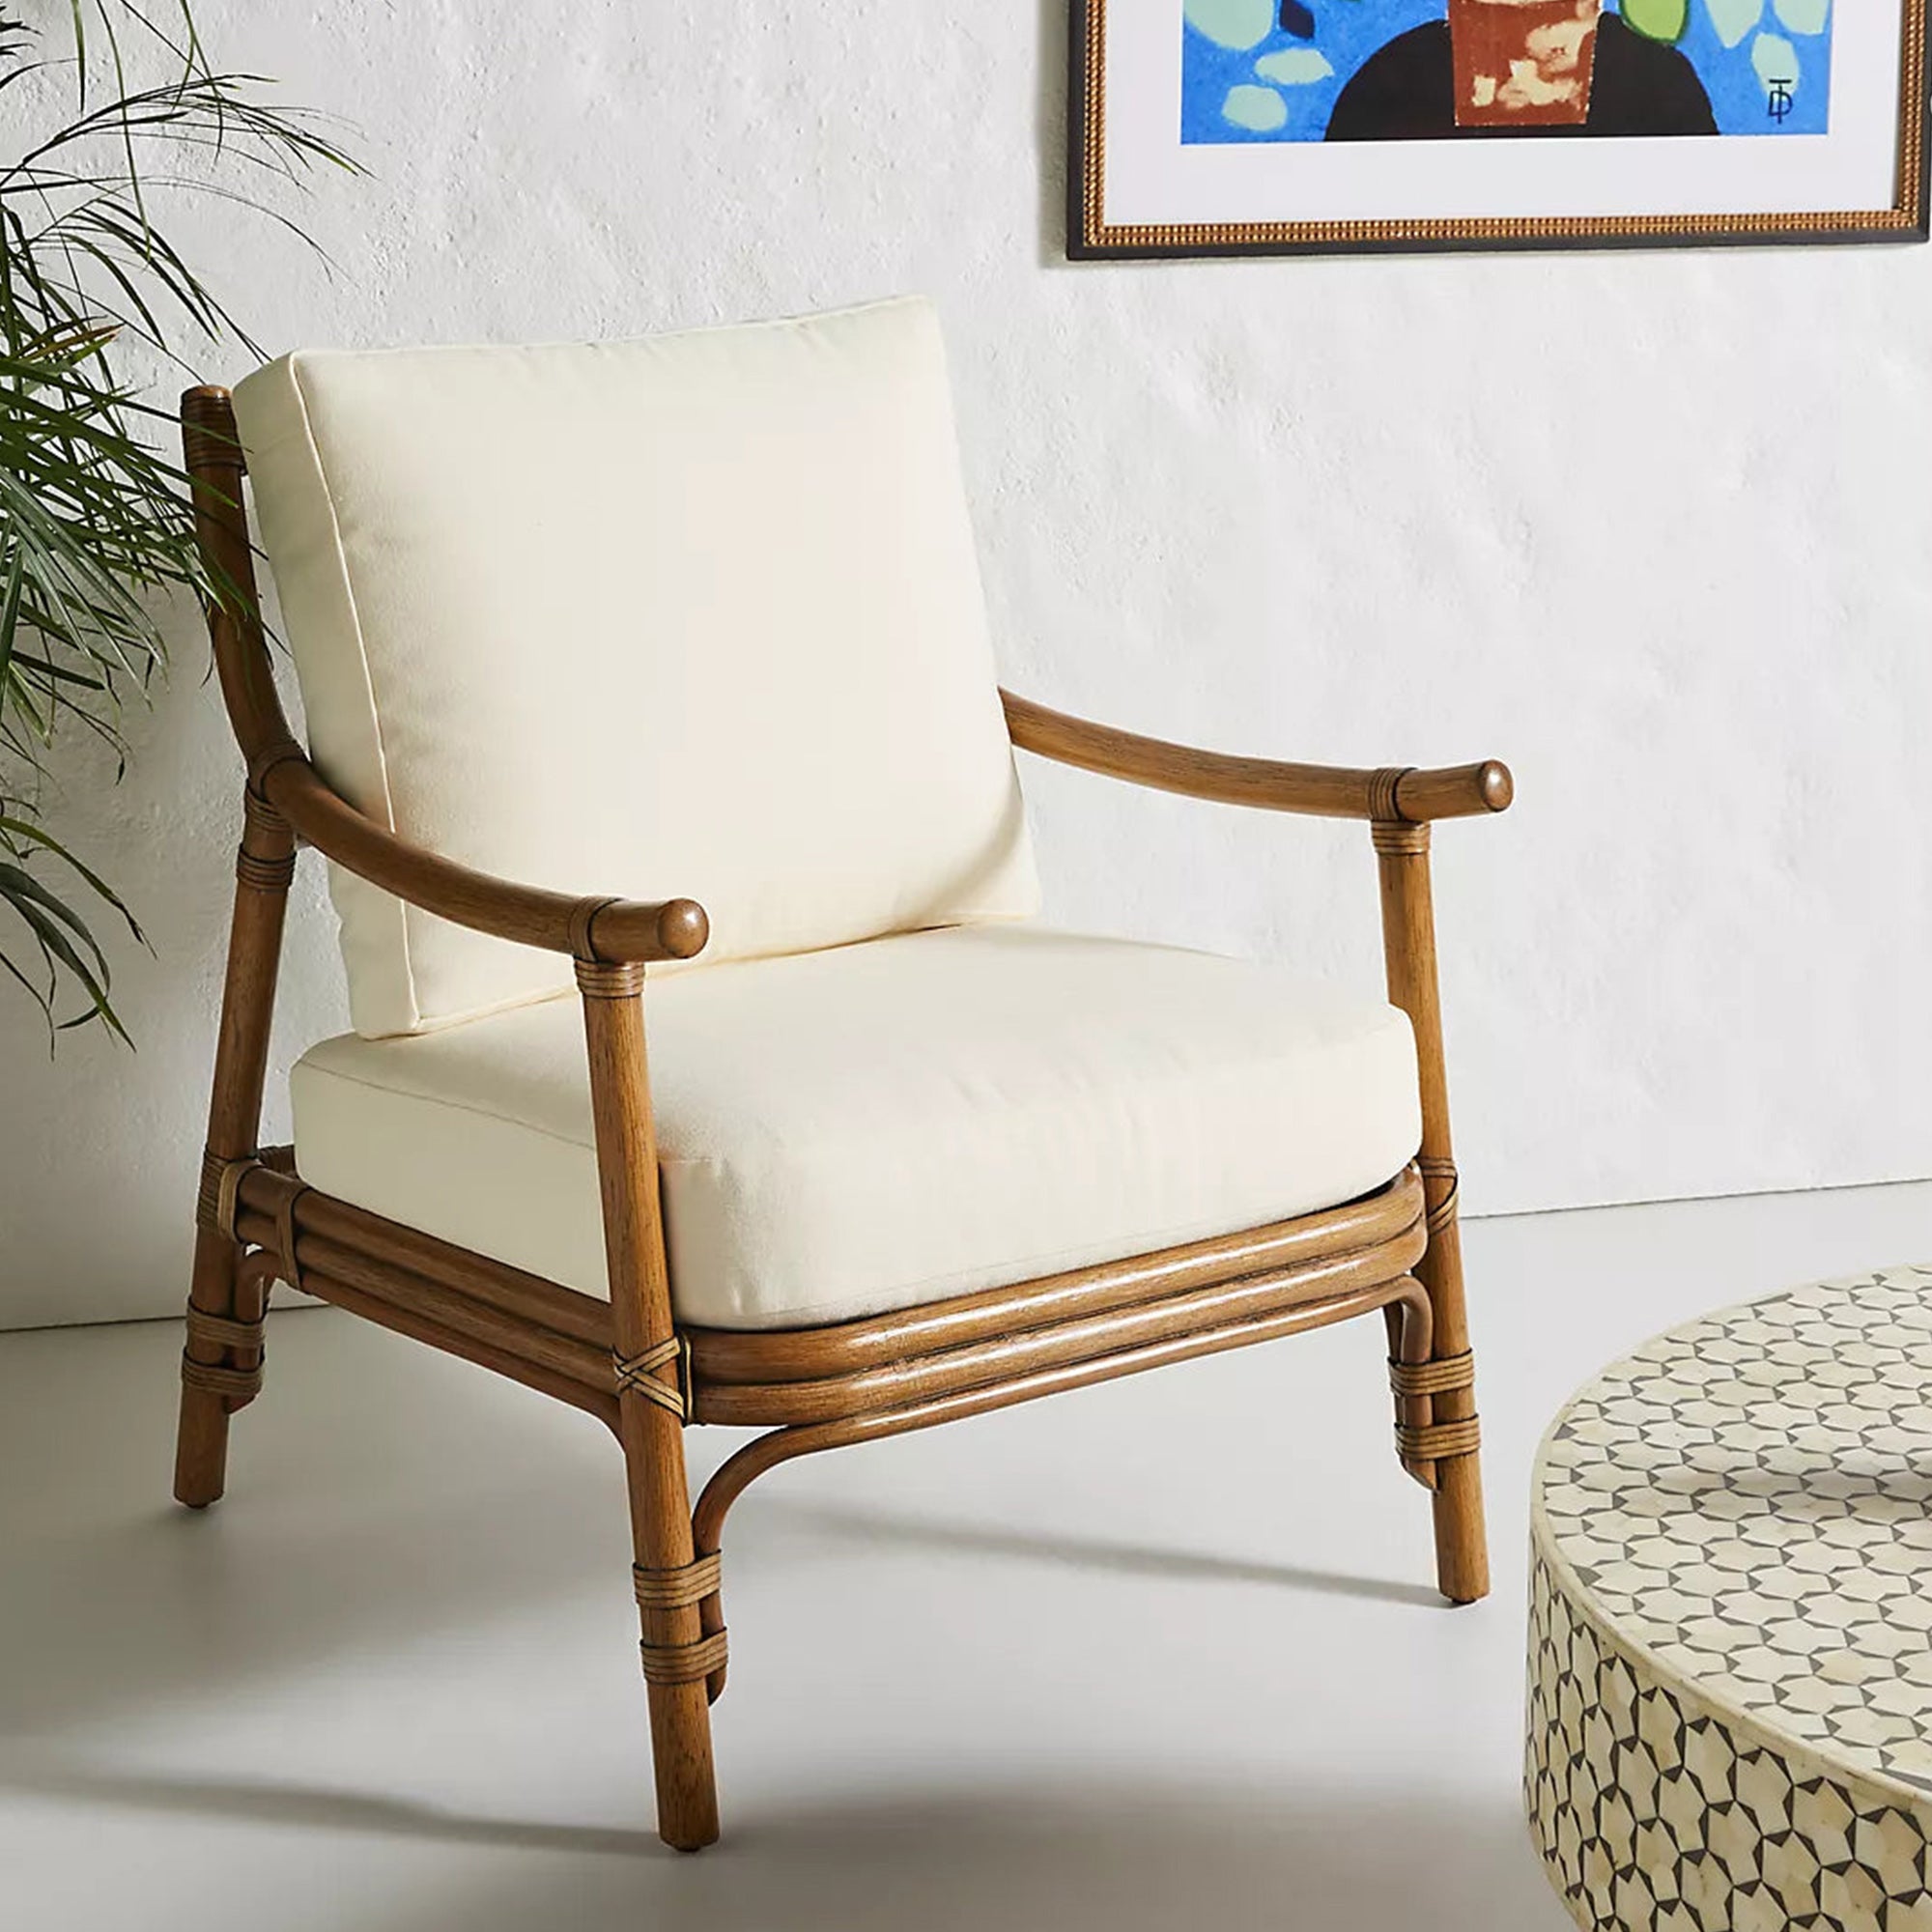
DIY Cane Furniture: Step-by-Step Guide to Crafting Your Cane Chair

Creating your cane furniture can be a rewarding and fulfilling experience. Not only do you get to enjoy a custom piece of furniture, but you also gain the satisfaction of crafting something with your own hands. In this guide, we'll walk you through making a cane chair from start to finish.
Materials You'll Need
1. Wooden Frame:
- Pre-made or self-constructed.
- Hardwood is recommended for durability.
- Pre-woven cane sheets.
-
Natural rattan cane material.
3. Wood Glue:
- Strong adhesive for wood.
- For attaching the cane webbing to the frame.
5. Scissors or Utility Knife:
- For cutting the cane webbing to size.
6. Measuring Tape:
- To ensure precise measurements.
7. Sandpaper:
- For smoothing the wooden frame.
8. Varnish or Paint (Optional):
- To finish and protect the wood.
Step-by-Step Instructions:
1. Prepare the Wooden Frame:
- If you are constructing your frame, ensure all joints are securely fastened and the frame is stable.
- Sand the frame to remove any rough edges or splinters. This will help the cane webbing adhere better and make the chair more comfortable to use.
- Measure the area where you will be applying the cane webbing. Add an extra inch on each side to allow for stapling.
-
Use scissors or a utility knife to cut the cane webbing to the appropriate size.
3.Soak the Cane Webbing:
- Soak the cane webbing in warm water for about 30 minutes. This makes it more pliable and easier to work with.
4. Attach the Cane Webbing to the Frame:
- Lay the wet cane webbing over the area where it will be attached.
- Starting from the centre and working outwards, use a staple gun to secure the cane webbing to the wooden frame. Ensure the webbing is taut but not overstretched.
- Continue stapling around the perimeter, keeping the webbing tight.
5. Trim Excess Cane Webbing:
- Once the cane webbing is securely attached, use scissors or a utility knife to trim off any excess material.
6. Secure the Edges:
- Apply wood glue along the edges where the cane webbing meets the frame for added security. Allow the glue to dry completely.
- Sand any rough spots or uneven edges.
-
If desired, apply a coat of varnish or paint to the wooden frame. This not only adds a finished look but also protects the wood from wear and tear.
Tips and Tricks
- Practice Patience: Cane webbing can be tricky to work with. Take your time to ensure it is properly aligned and securely attached.
- Use Quality Materials: Invest in good-quality cane webbing and a sturdy wooden frame. This will make your chair more durable and long-lasting.
- Customization: Feel free to get creative with the design of your frame or the finish you choose. This is your opportunity to create a truly unique piece of furniture.
Crafting your cane chair is not only a fun DIY project but also a way to add a personal touch to your home decor. With patience and attention to detail, you can create a beautiful and functional piece of furniture that you can be proud of. Happy crafting!


Leave a comment
All comments are moderated before being published.
This site is protected by reCAPTCHA and the Google Privacy Policy and Terms of Service apply.